Quick Start with AITracker
This guide covers the basic workflow: opening recordings, configuring a measurement location, uploading it to the AISP cloud, and downloading the results.
1. Install the application
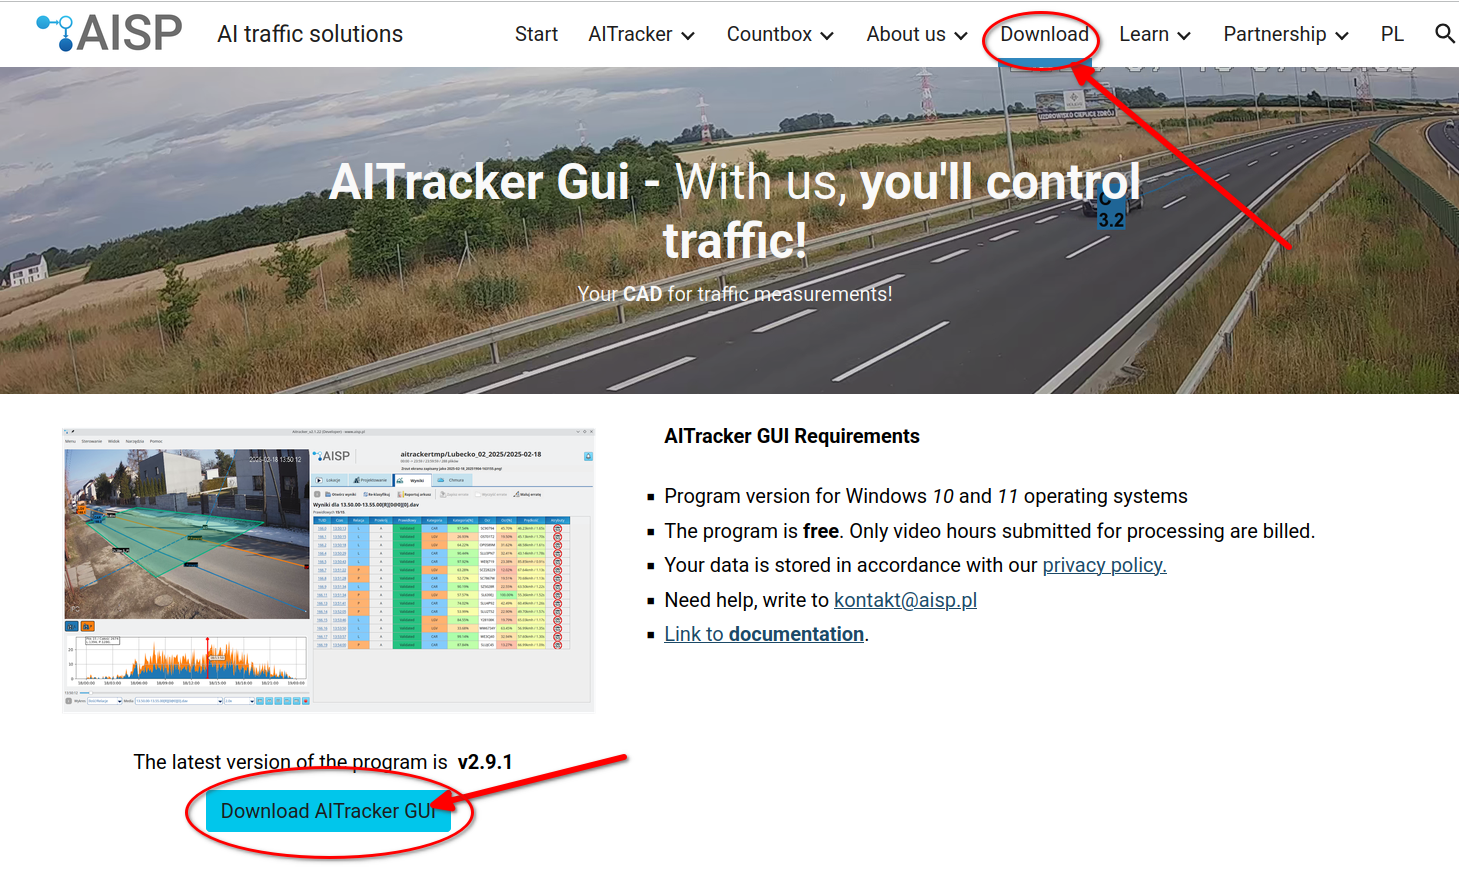
- Download the AITracker GUI installer from www.aisp.pl.
- Run the
.exefile and complete the installation. - Open the application from the Start menu.
2. Open the recordings directory
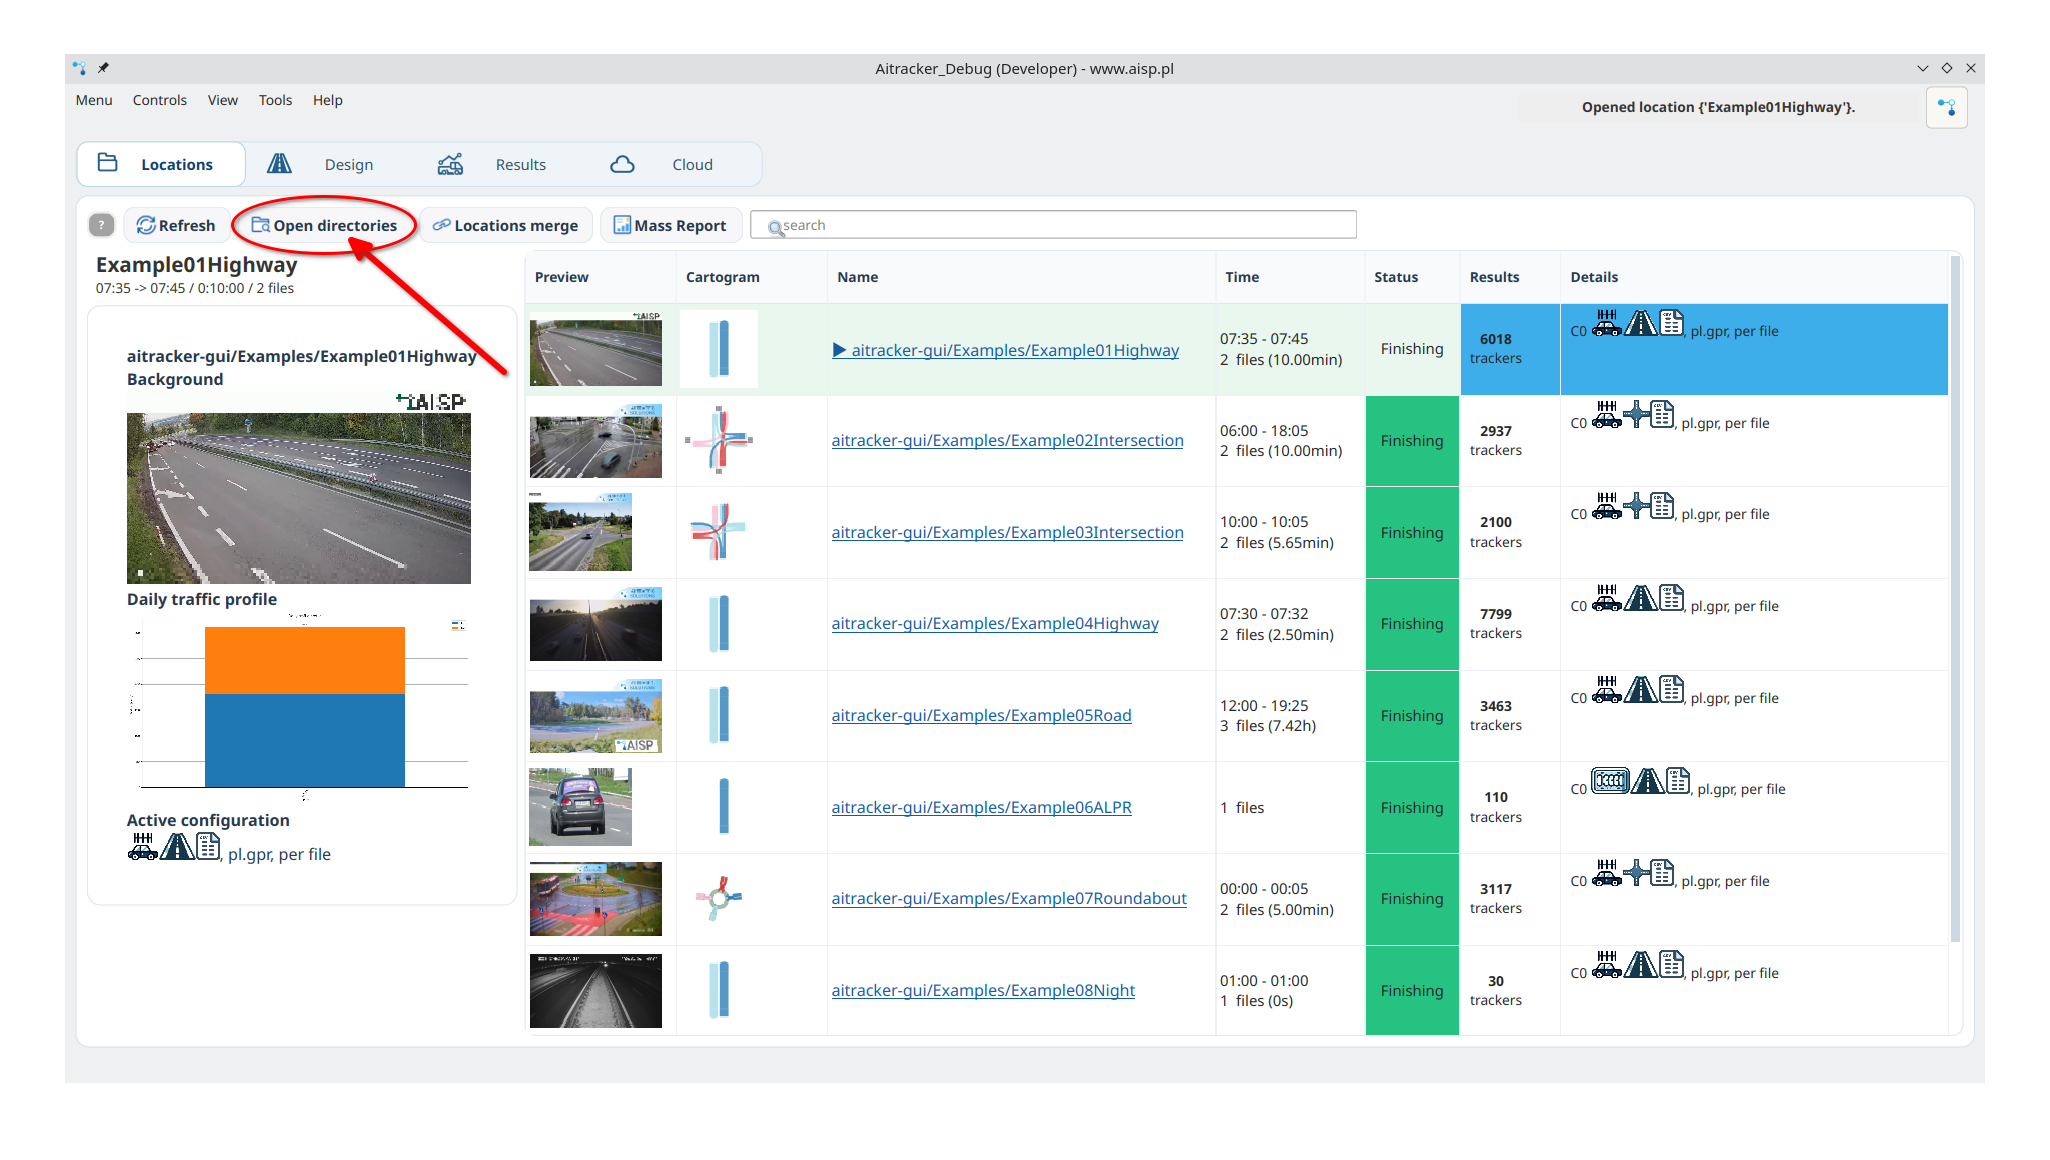
- Click Menu → Open File/Folder.
- Select the directory containing the recordings, for example
Example01Highway. - Click the measurement location in the Locations list.
3. Configure the measurement
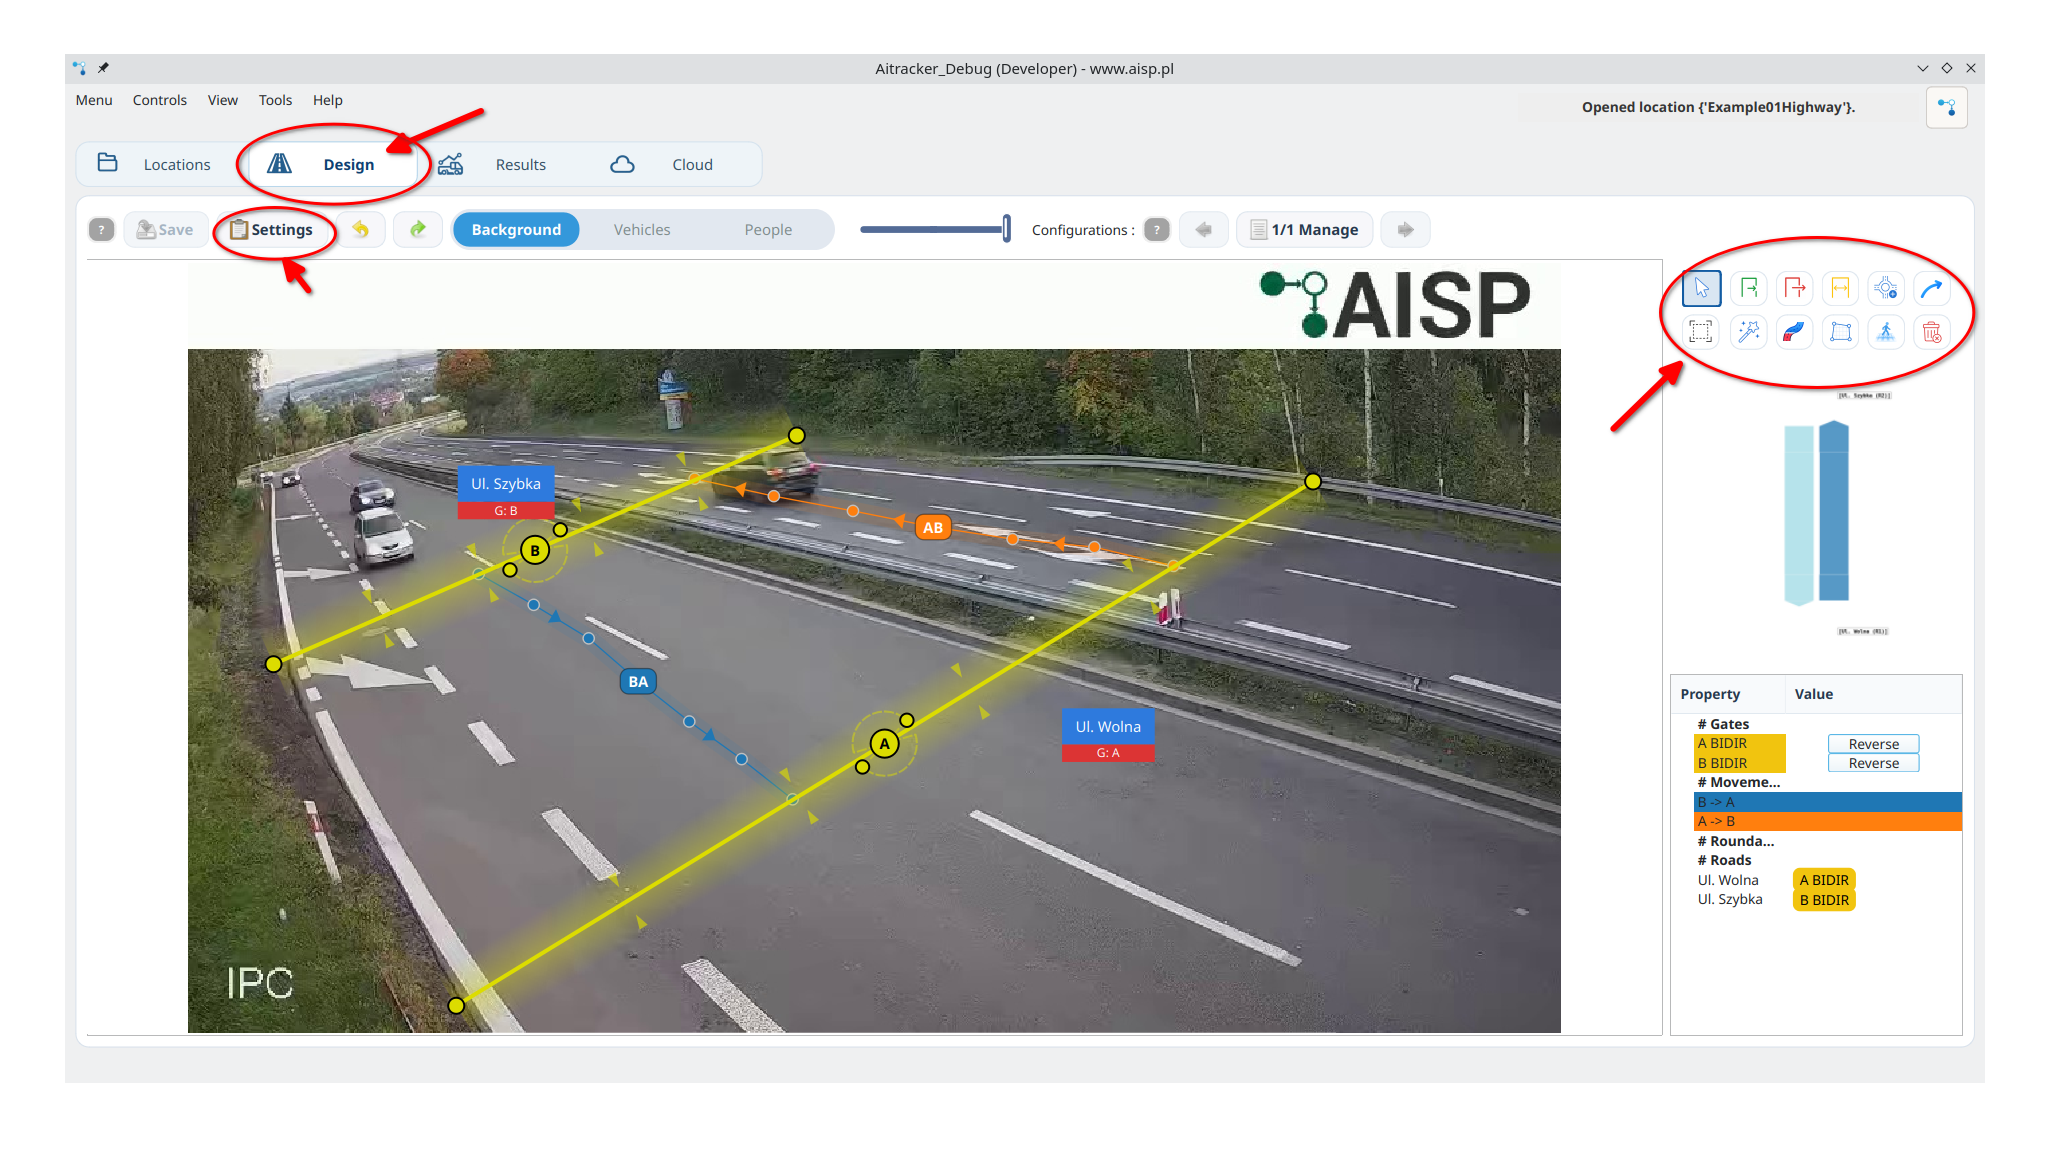
- Go to Design.
- Select Traffic counting.
- Select the required classification, for example
COBA7. - Open Gates and click Add Gate.
- Draw gates at entries and exits.
- Open Movements and click Add Movement.
- Define each movement by clicking its starting and destination gates.
- Open Results / Sheets.
- Set the time grouping, main category, and sheet format, for example
XlsxEntrances.
Expected result: The measurement-location configuration is complete and ready for analysis.
4. Upload recordings to the AISP cloud
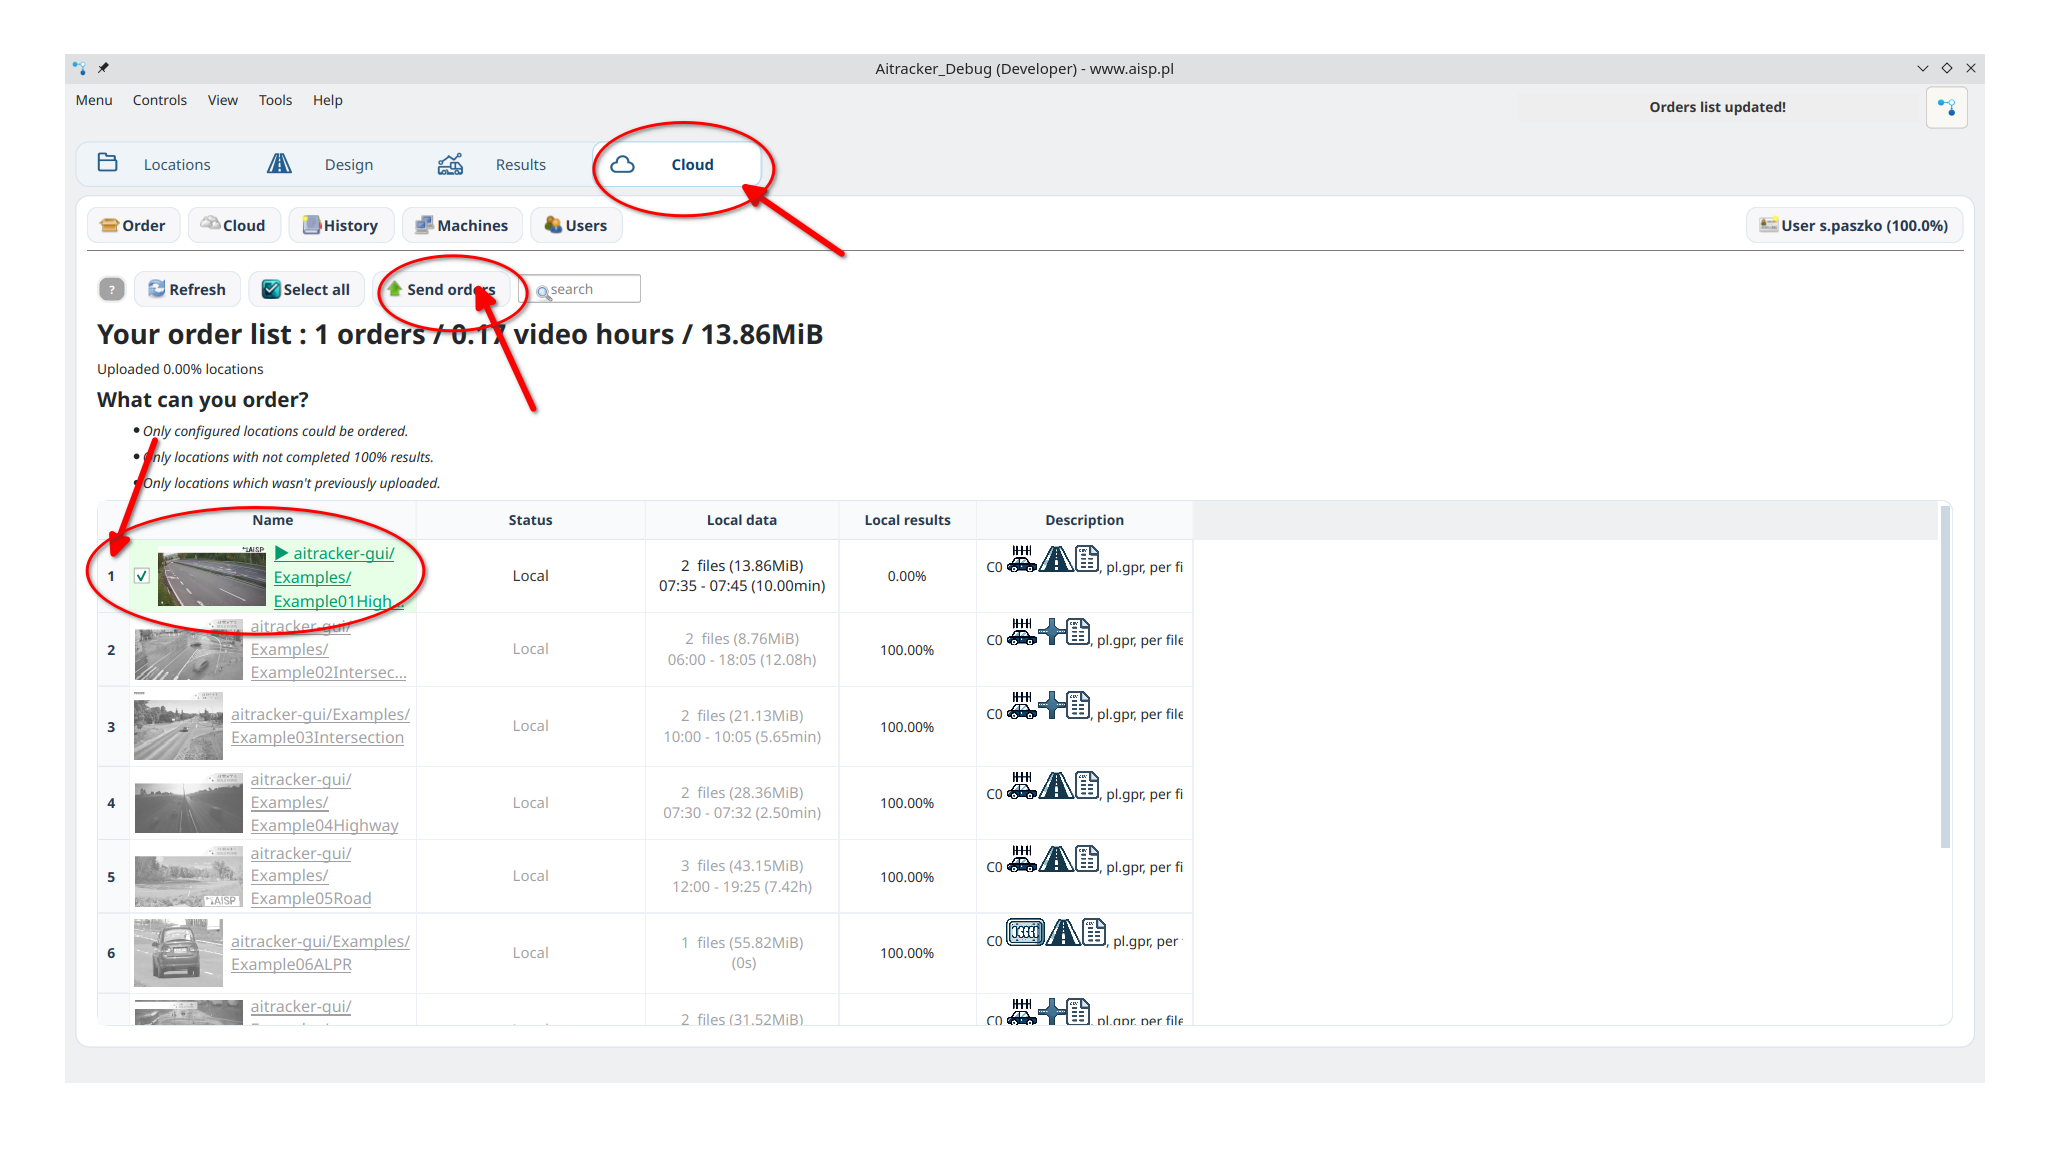
- Go to Cloud.
- Sign in or register an account.
- Select the measurement location in the orders list.
- Click Send orders.
Expected result: The order status changes to Uploaded and analysis begins.
5. Download the measurement results
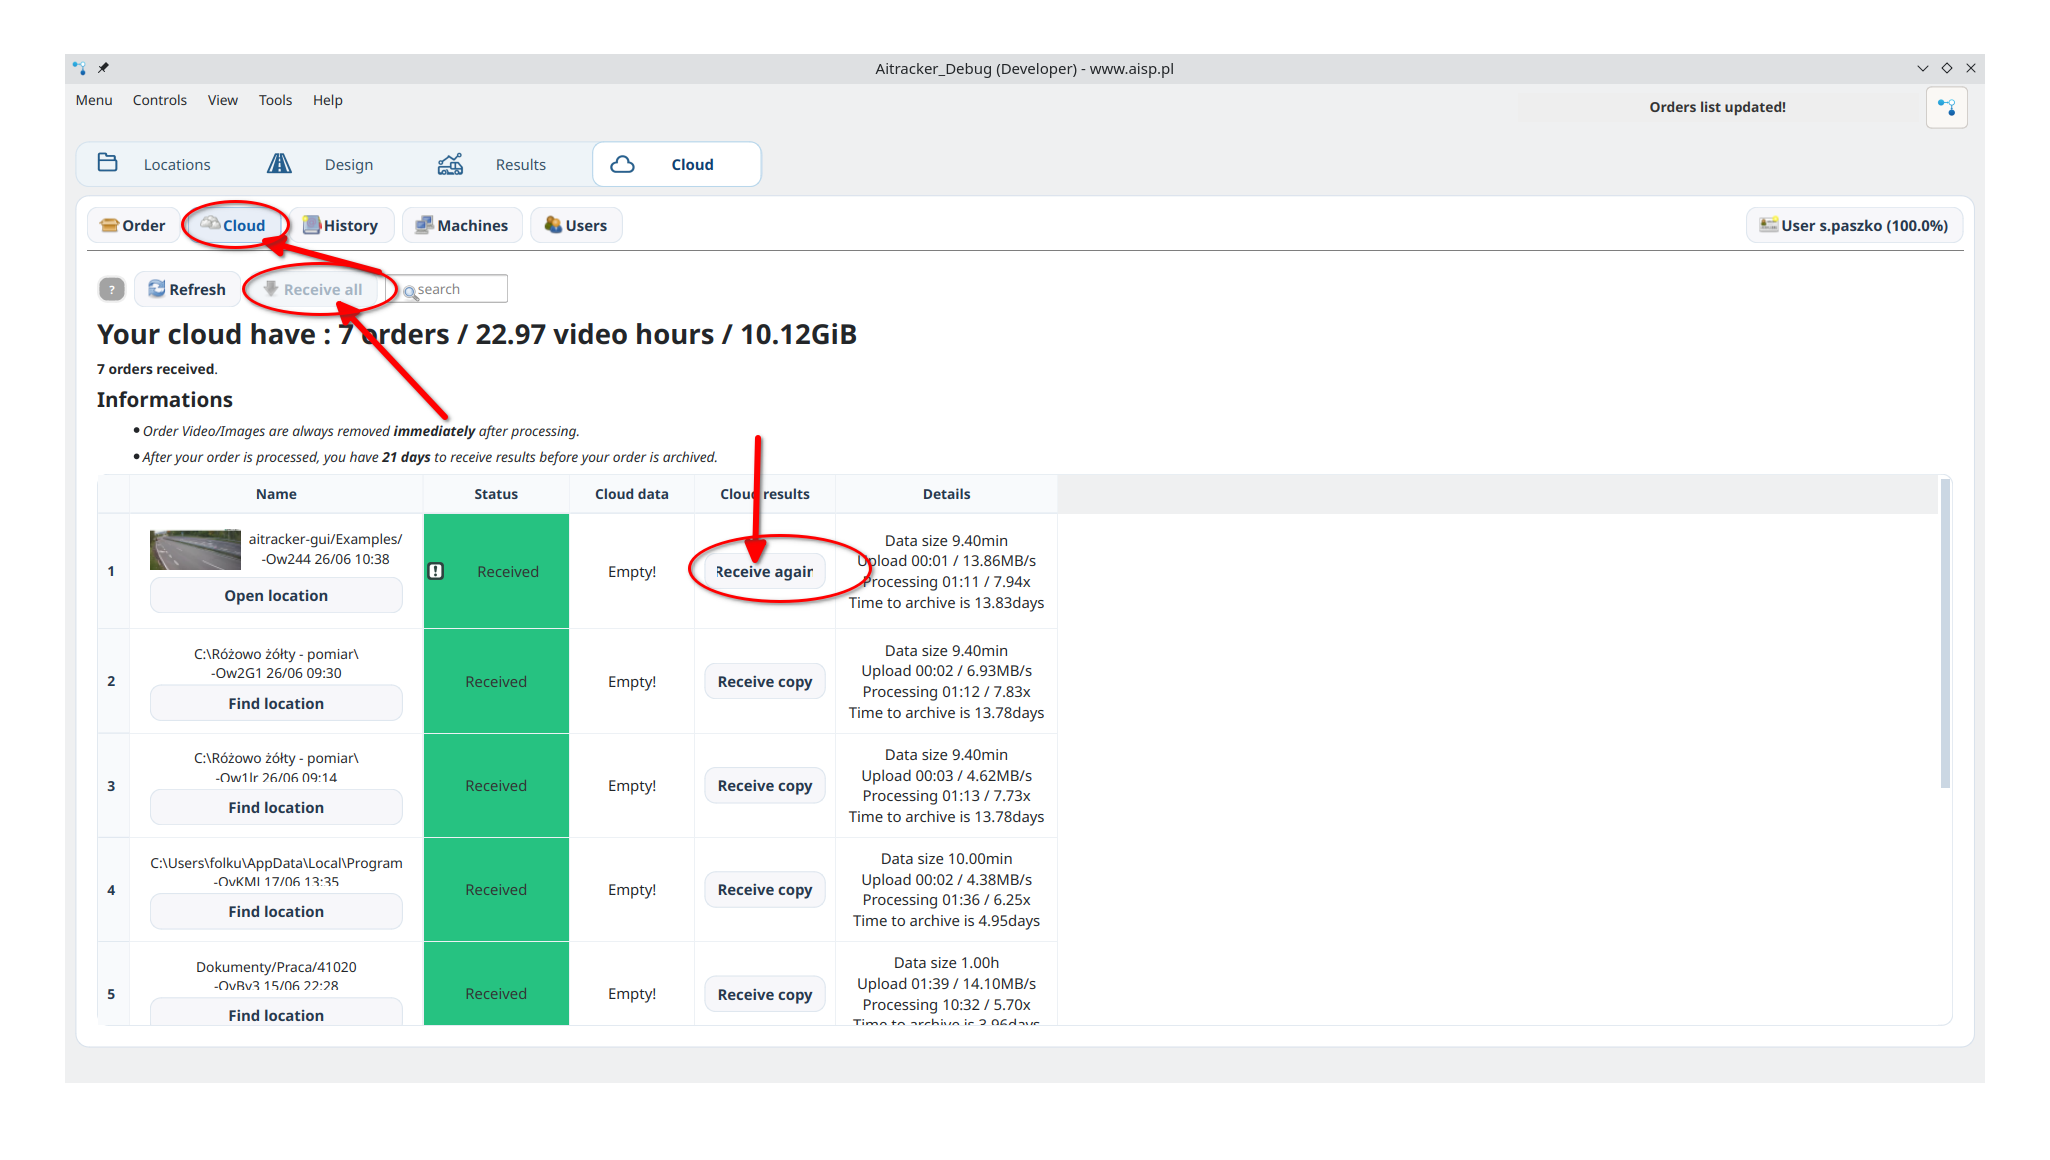
- After processing is complete and the order status changes to ReadyToReceive, return to Cloud.
- Select the completed order.
- Click Receive all.
- Go to Results.
Expected result: Results are available in the application and ready for export.
6. Export a report
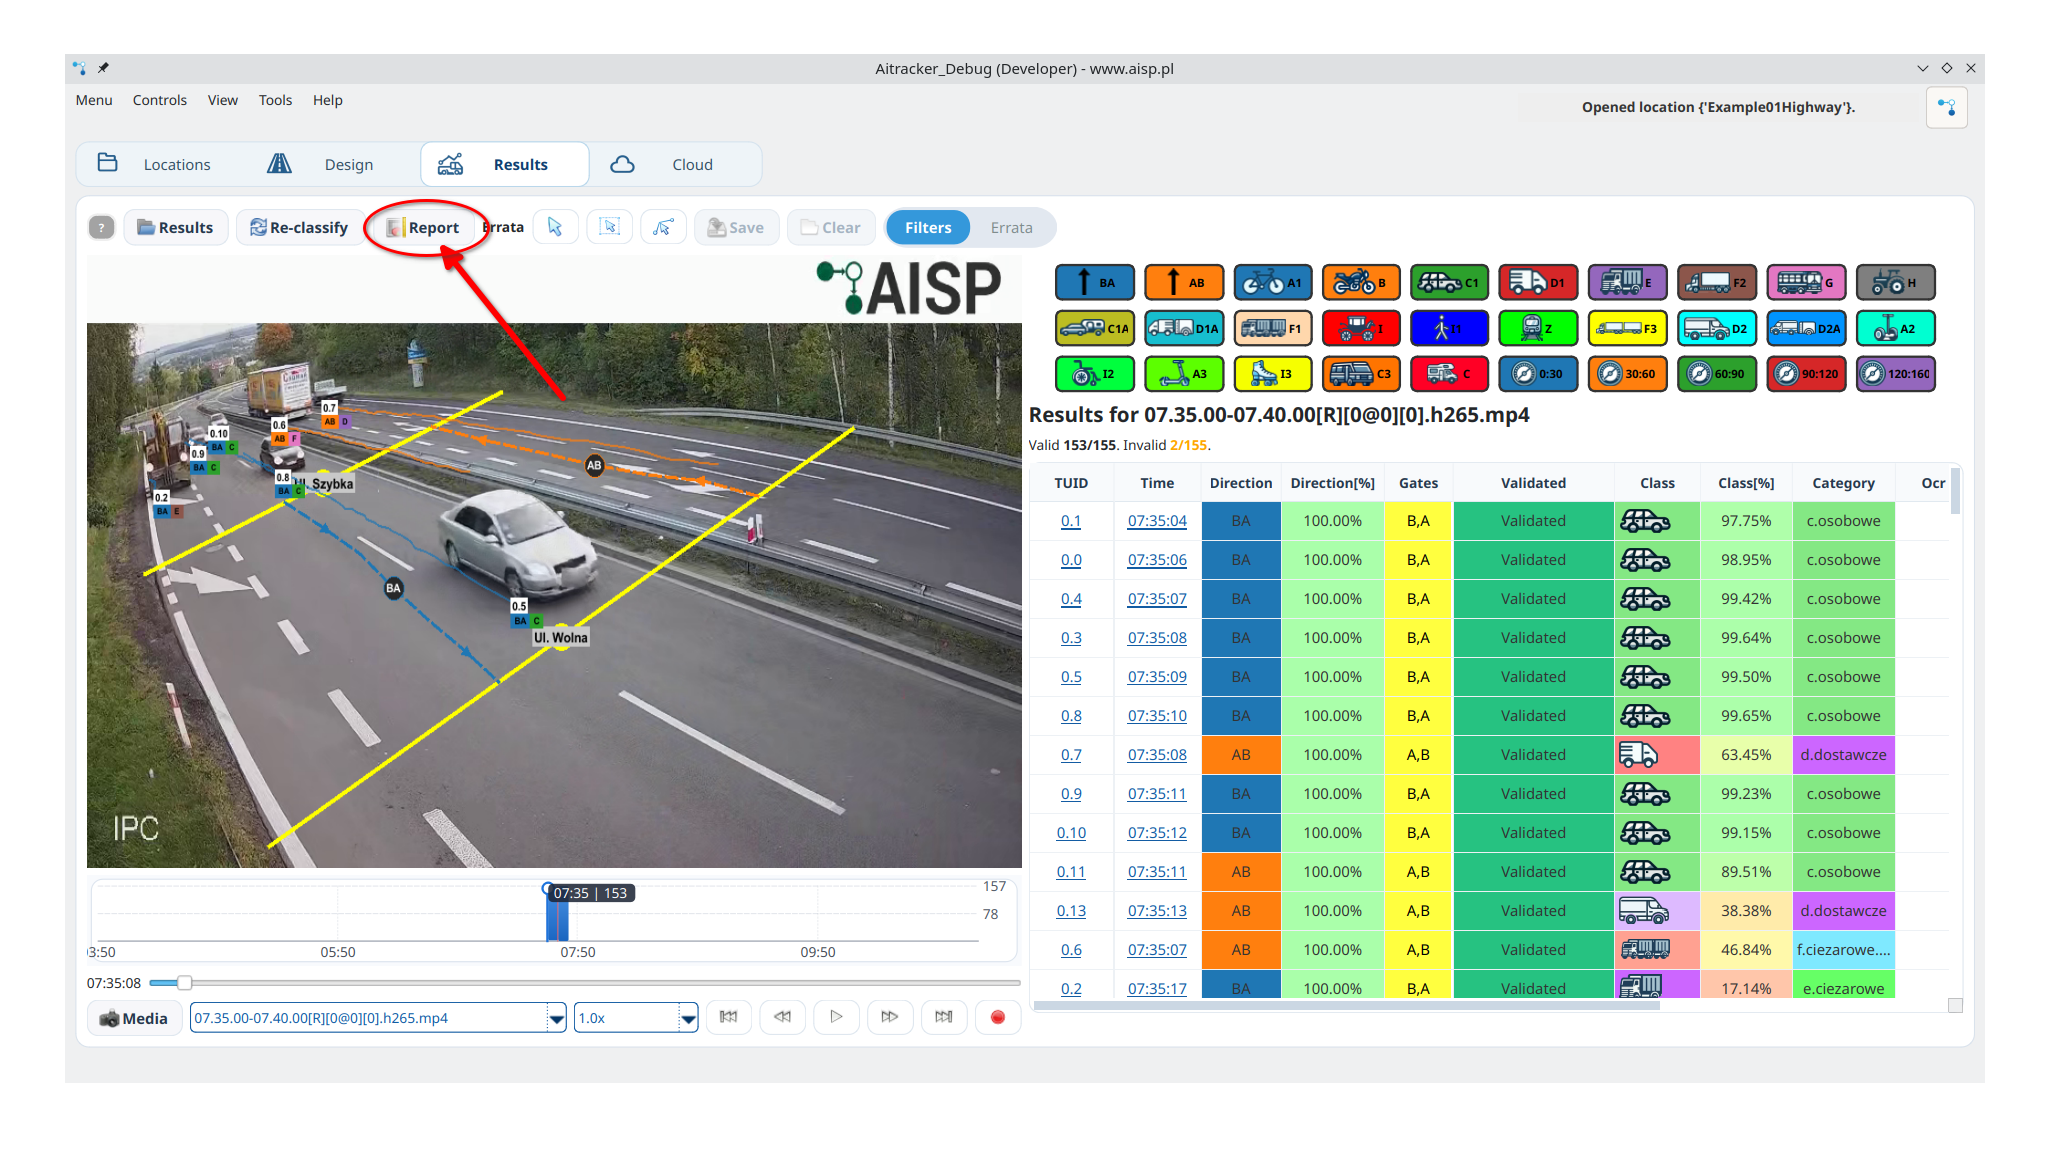
- In Results, click Report sheets.
- Select
XLSX,CSV, orXML.
Expected result: Report files are saved in the measurement-location directory.