How to Add or Edit a Custom Vehicle Classification in AITracker GUI
This guide explains how to create classifications and edit existing ones.
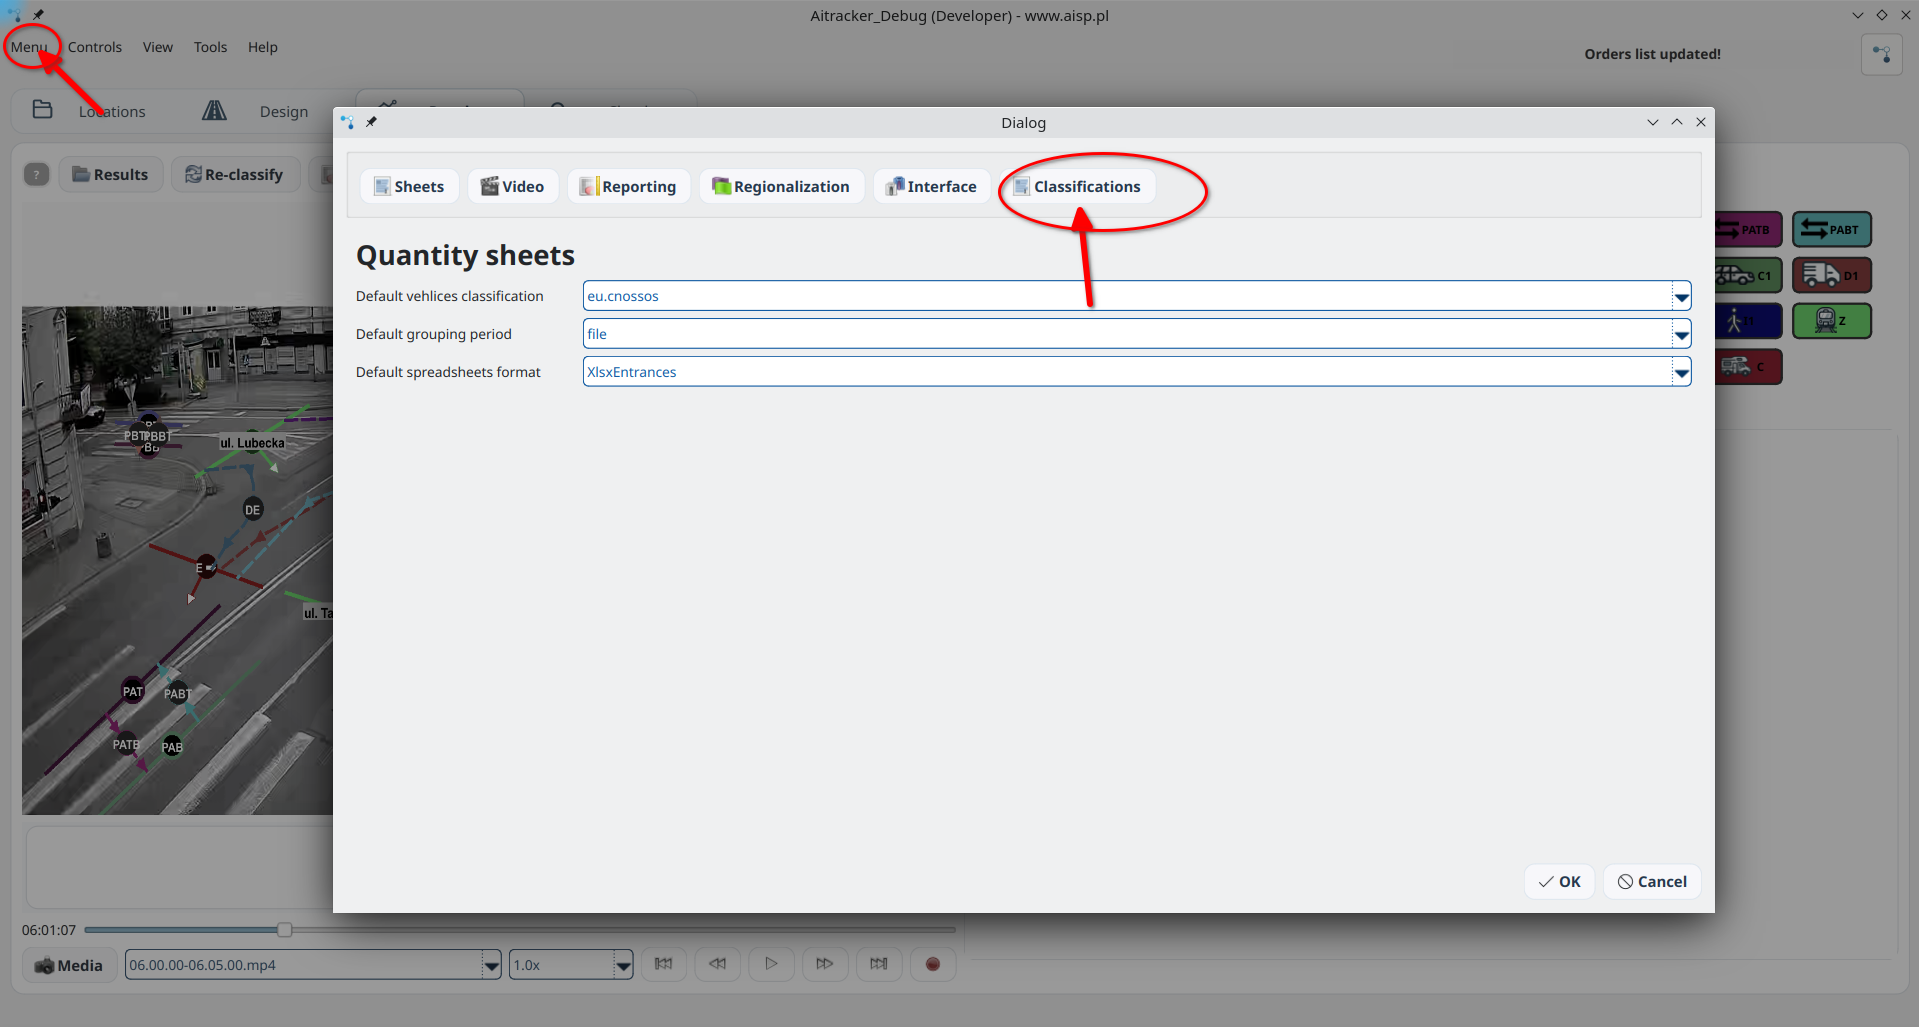
Open the editor
- Open Settings.
- Go to Classifications.
- Click Open Classification Editor.
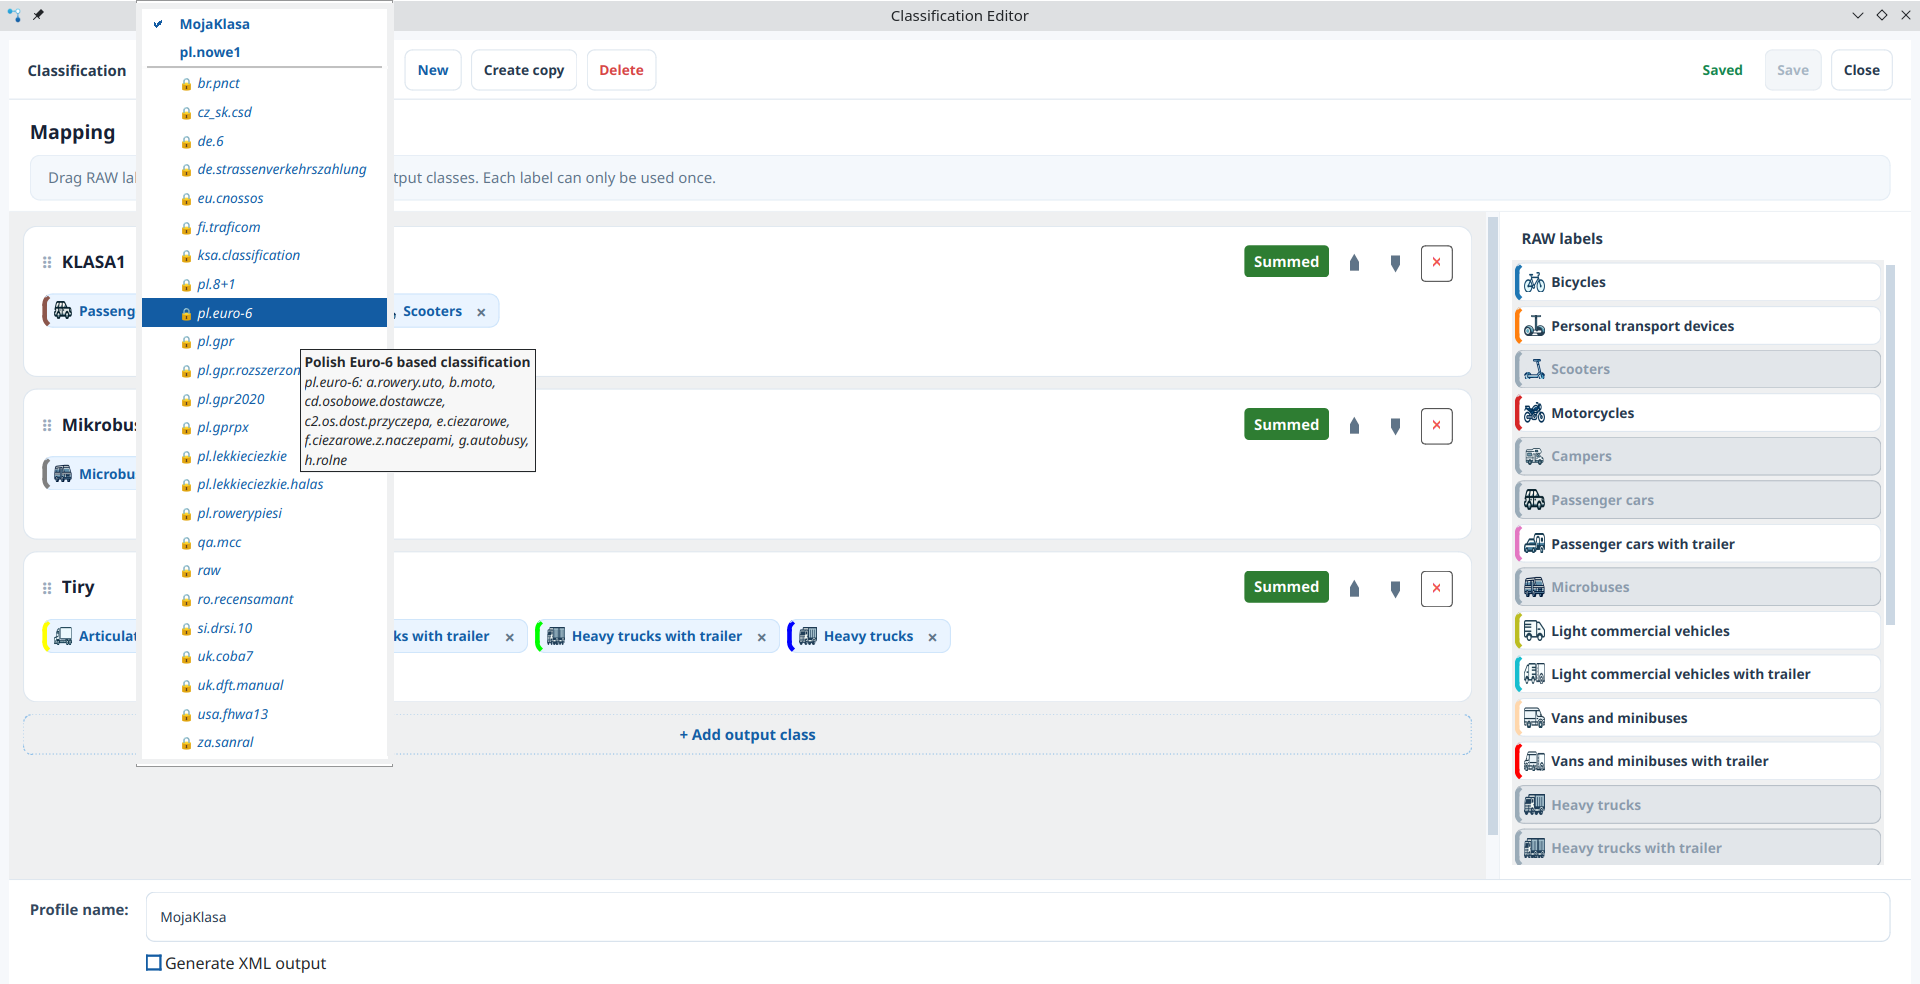
Built-in and user classifications
- Built-in classifications are read-only, but you can copy them.
- User classifications can be edited and are stored in
storage/settings.toml.
Create a new classification
- Click New.
- Enter a unique classification name.
- Add output classes and assign RAW labels to them.
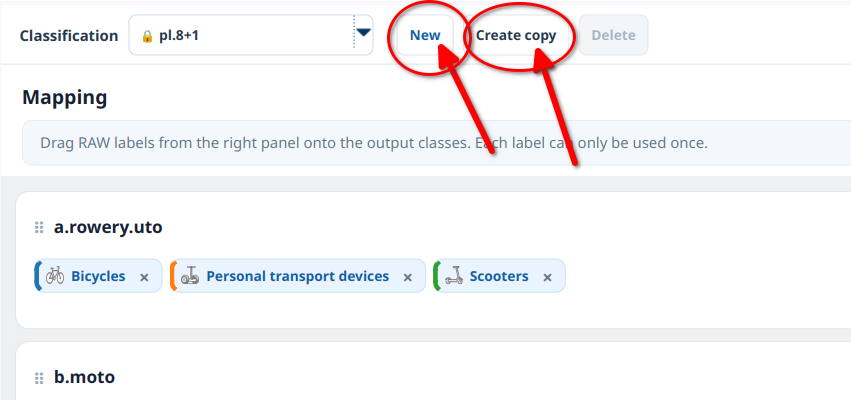
Create a copy
- Select any built-in or user profile.
- Click Create Copy and enter a unique name.
The copied profile can be edited.
Edit mappings with drag and drop
The central workspace contains:
- output classes and their drop zones on the left,
- RAW labels on the right.
Drag a RAW label from the right panel and drop it onto an output class on the left.

The editor enforces the following rules:
- each RAW label can be assigned only once across the complete profile,
- output-class names must be unique.
You can also move an assigned label between output classes by dragging its chip.
Manage output classes
In the mapping workspace, you can:
- click + Add Output Class,
- delete a class,
- move classes with ▲ and ▼,
- mark each class as Summed or Not summed.
Not summed classes remain available as categories but are excluded from the TOTAL column generated in CSV sheets. This setting is separate from a tracker's Counted or Uncounted validation state.
Update metadata
In the settings panel at the bottom:
- Profile Name sets the classification identifier.
- Generate XML Output controls XML export, primarily for Poland's General Traffic Measurement.

Save and close
Click Save to validate and persist the classification. If you close the editor with unsaved changes, choose whether to save, discard, or return to editing.