Roundabout Setup and Usage
The Roundabout feature helps you model traffic flow on circular intersections by adding a roundabout object and attaching gates directly to the ellipse.
In the Design workflow, this is available in tab:
- 6. RoundAbount - Manage roundabout and auto movements
When to use Roundabout
Use roundabout setup when:
- You analyze a circular intersection where vehicles enter and leave through multiple approaches
Before You Start
Prepare the scene first:
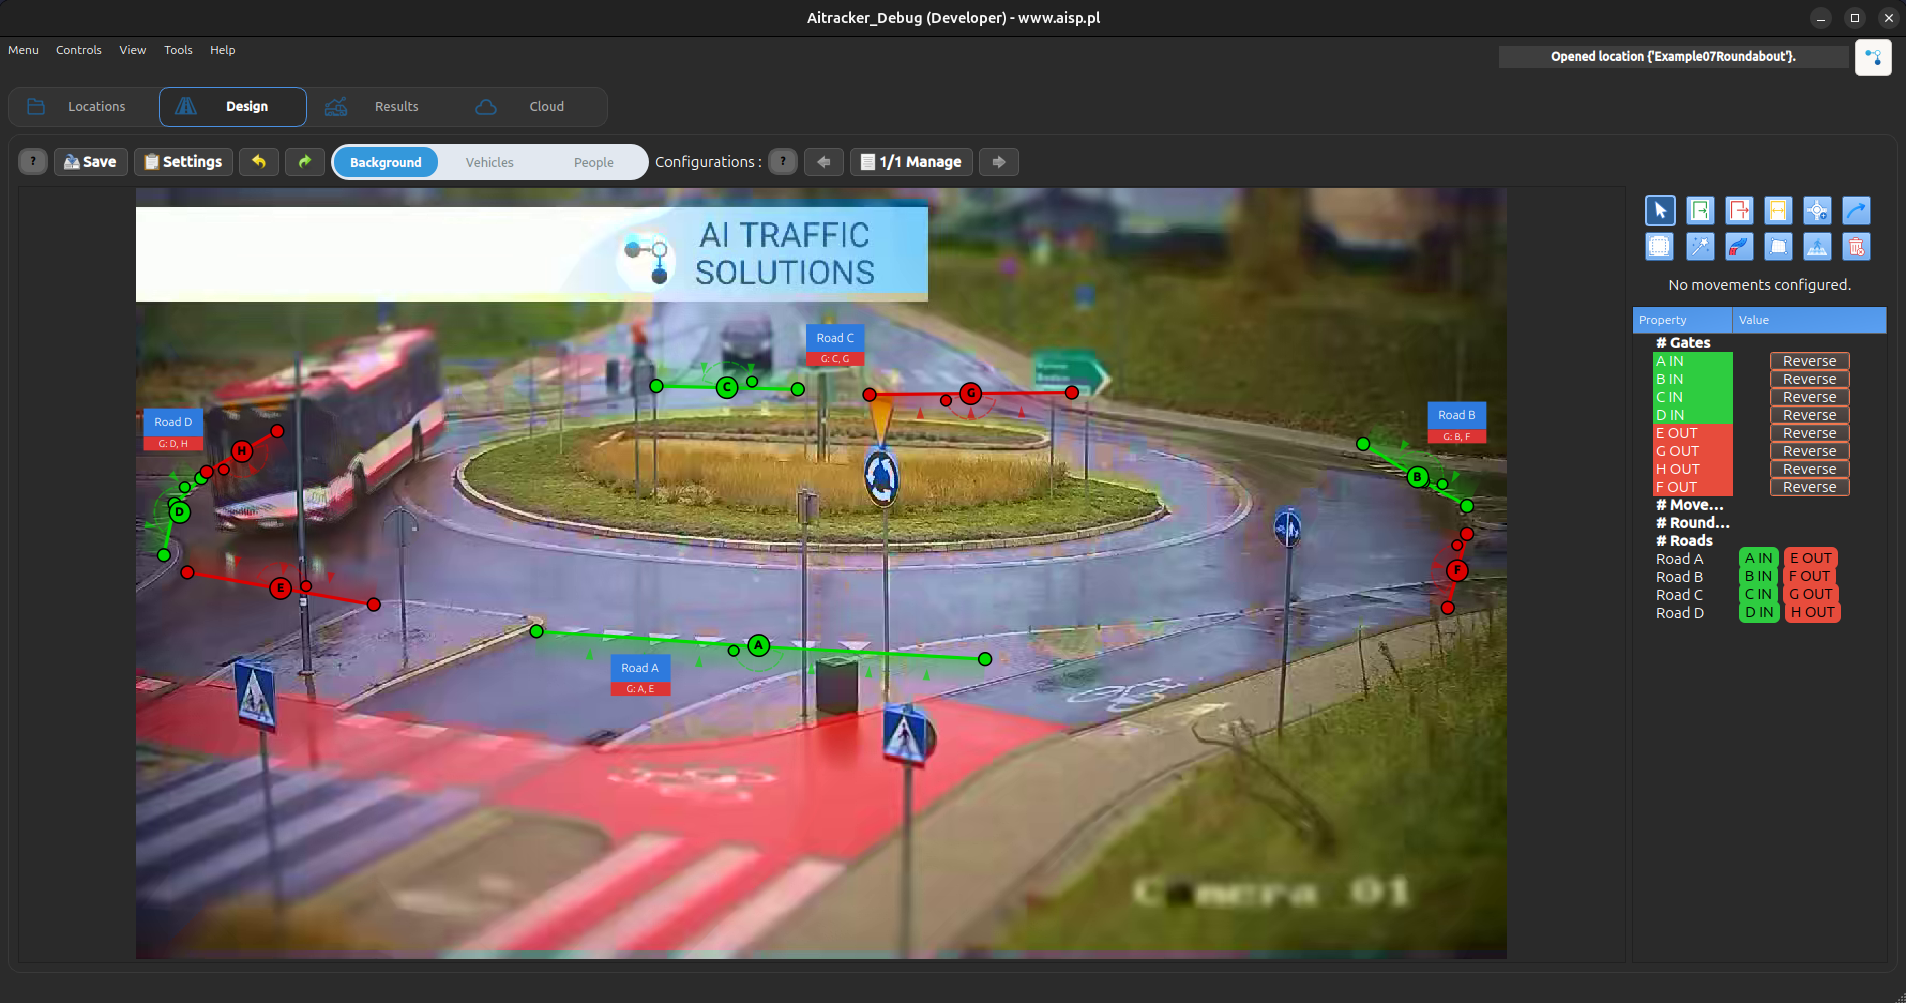
- Add and position gates in the Gates tab
- Set each gate type correctly:
- Entry = input to roundabout
- Exit = output from roundabout
- Bidirectional = both input and output
- Verify gates are placed close to each approach lane
The gate type decides how a gate is assigned under a roundabout.
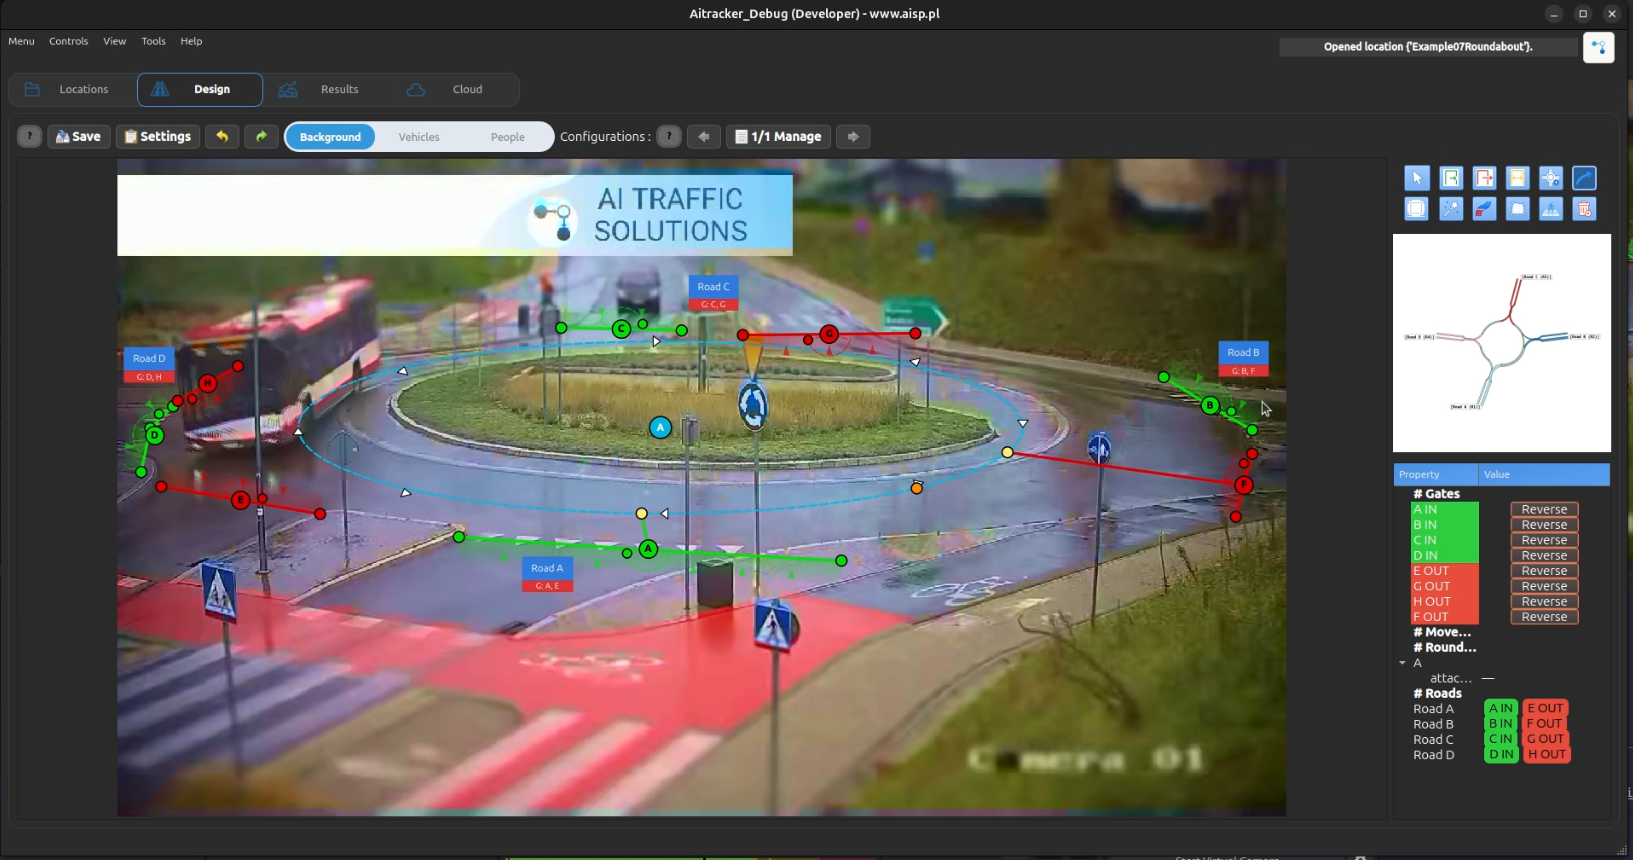
Step 1: Add Roundabout Shape
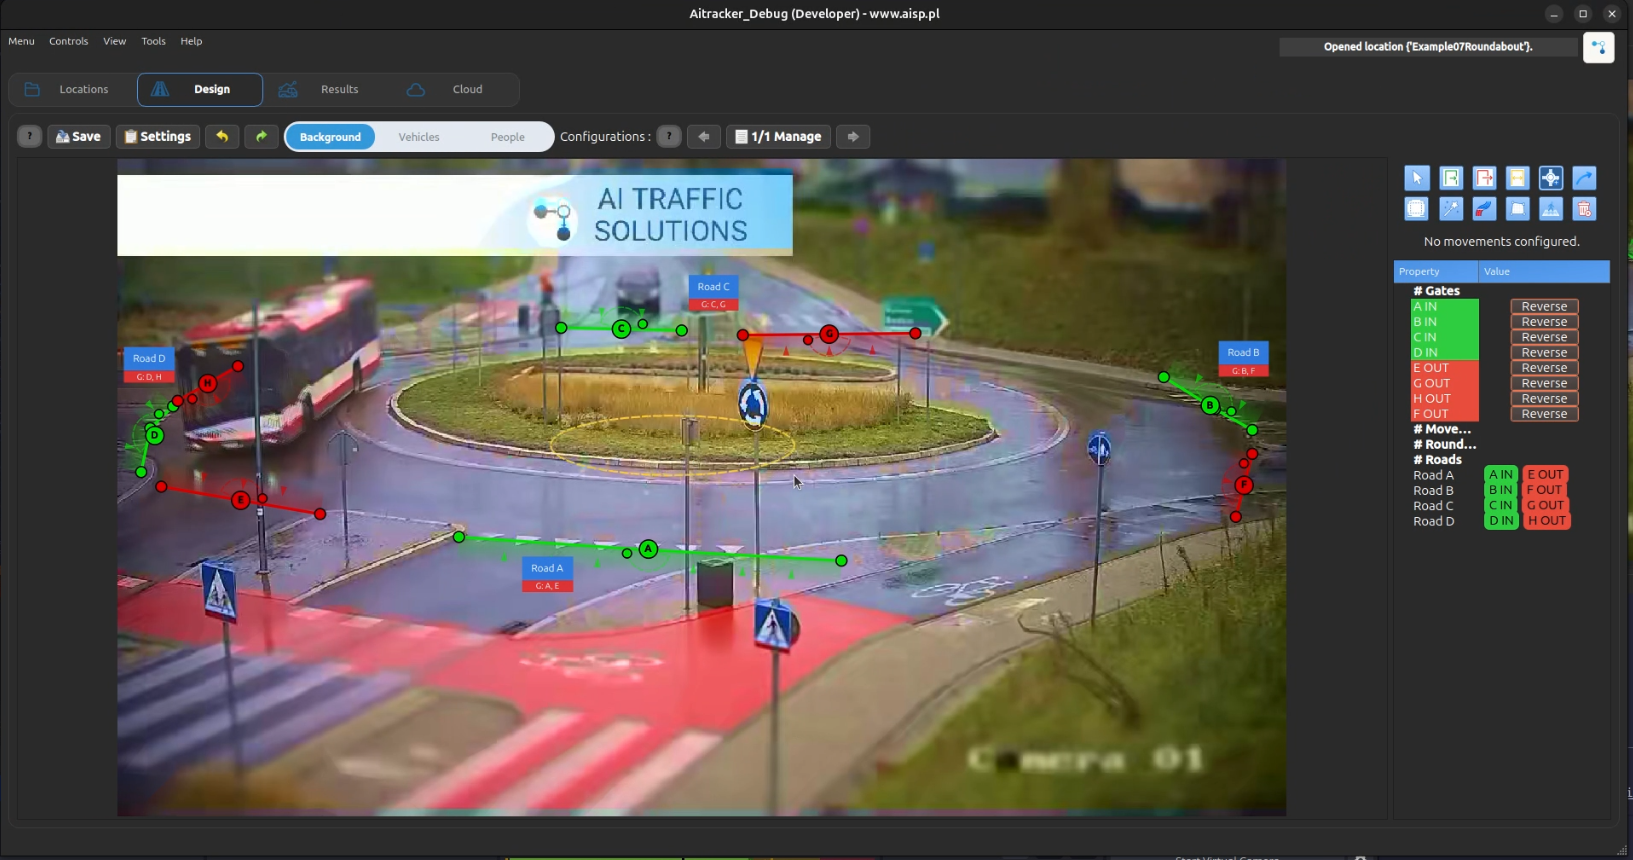

- Open tab 6. RoundAbount - Manage roundabout and auto movements
- Click Add
- On the video frame:
- First click sets the center of the roundabout
- Second click sets the ellipse size (radius)
- The roundabout appears as an ellipse with direction arrows
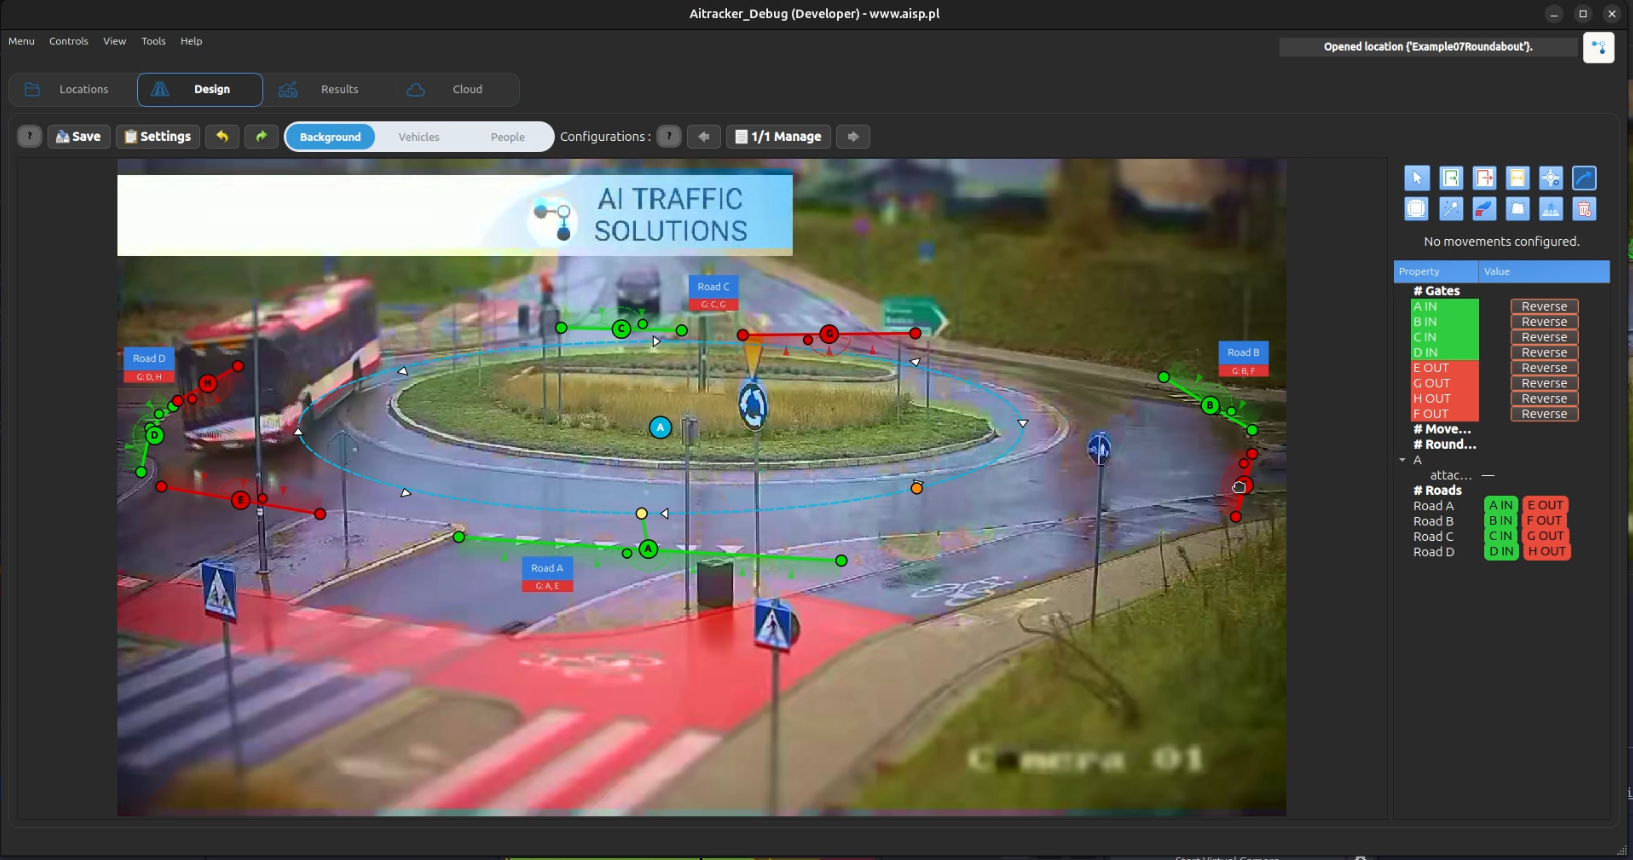
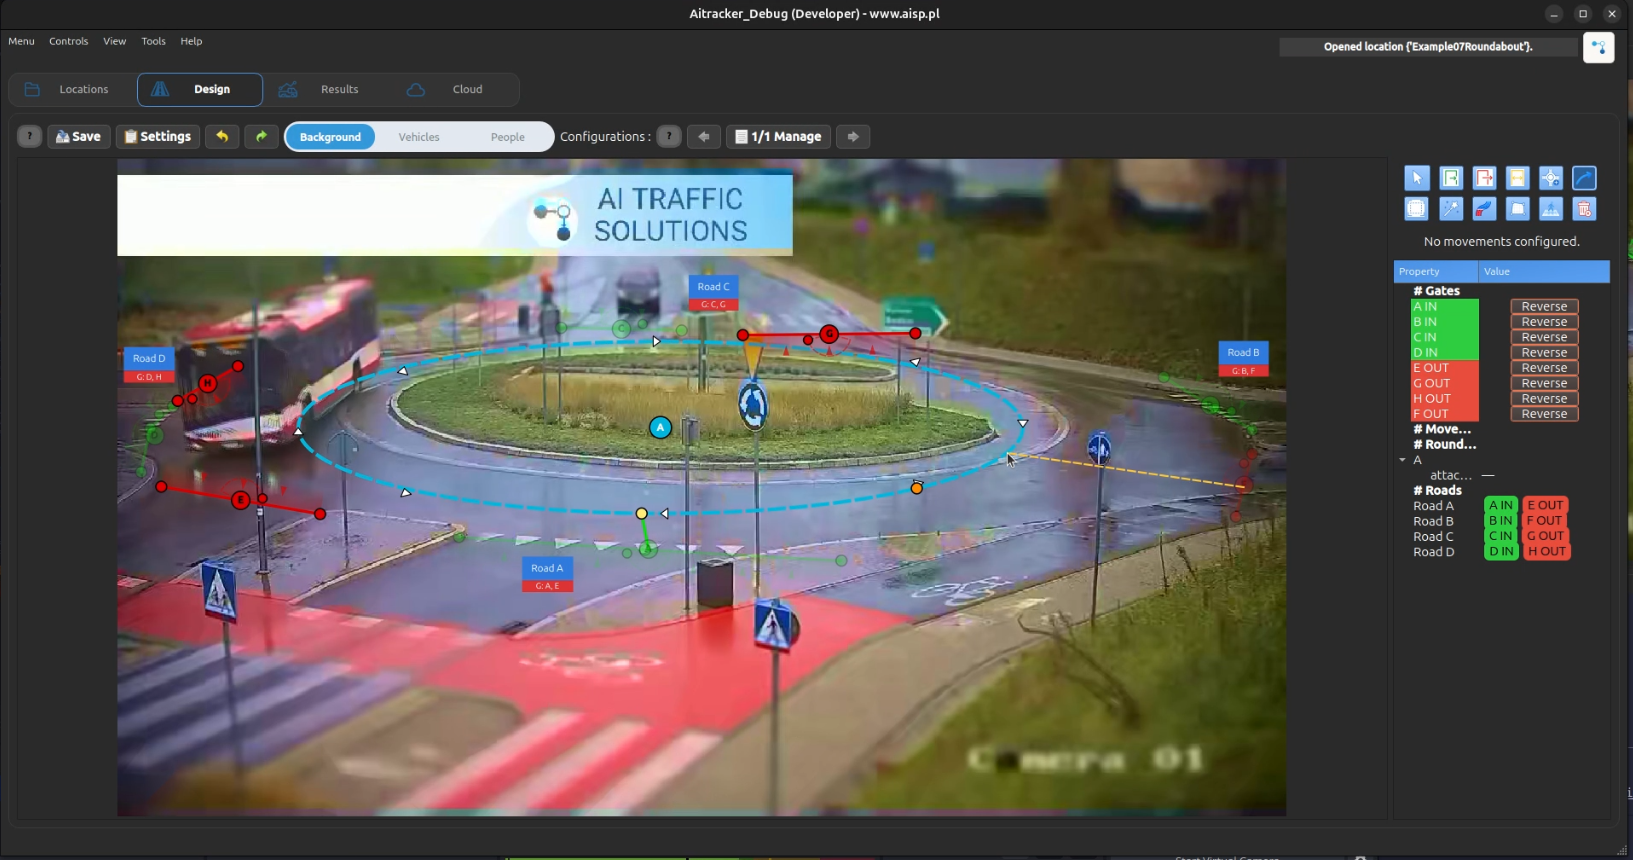
Step 2: Attach Gates on the Ellipse
In the editor, right-click on the roundabout ellipse and use attachment actions:
- Choose Add attachment here
- Select the gate ID from the list
- Repeat for all gates connected with the roundabout
- Drag attachment points along the ellipse to correct angle positions
The scene tree shows attachments as: GateId @ angle.
Step 3: Classification Uses Synthetic Roundabout Movements
- Roundabout movements are generated internally from attachments
- They are used by classification and grouping automatically
- They are not added to editable Movements list, so the scene is not cluttered
Step 4: Set Correct Rotation Direction
Roundabout movements depend on rotation direction.
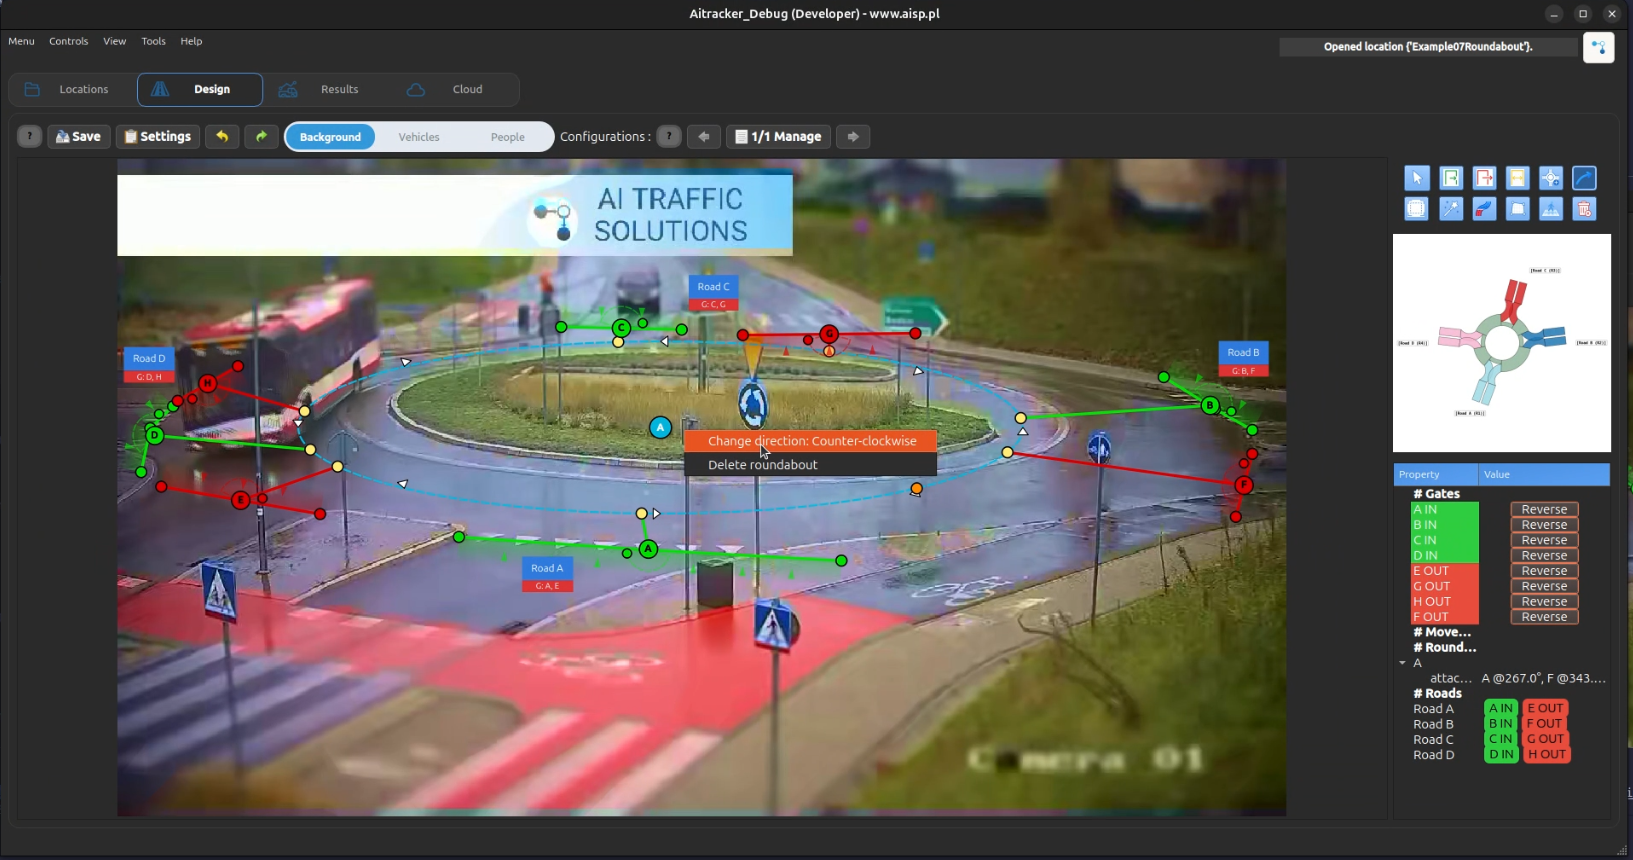
 1. Check the roundabout(s) in the tree (top-level checkbox)
2. Click Reverse to switch direction:
- Clockwise -> CounterClockwise
- CounterClockwise -> Clockwise
3. After changing direction, synthetic trajectories are recalculated automatically
1. Check the roundabout(s) in the tree (top-level checkbox)
2. Click Reverse to switch direction:
- Clockwise -> CounterClockwise
- CounterClockwise -> Clockwise
3. After changing direction, synthetic trajectories are recalculated automatically
Optional: Draw a Custom Movement Through Roundabout
If needed, you can still draw editable movements manually in Movements mode:
- Start on an Entry or Bidirectional gate
- Click through the desired path (optional intermediate points)
- Pass through the roundabout area
- Finish on an Exit or Bidirectional gate
This is useful for non-standard geometry or special traffic patterns. Manual movements and synthetic roundabout movements can work together.
Editing and Cleanup
- Delete: remove selected roundabout by clicking it in image
- Clear: remove all roundabouts from the current configuration
- Removing a gate from the configuration also removes its roundabout assignment
Best Practices
- Place gates close to physical entries/exits of the roundabout
- Keep one roundabout object per physical roundabout center
Troubleshooting
I cannot create a roundabout
- Make sure you clicked Add in the RoundAbount tab
- You must provide two clicks: center and ellipse edge
Generated movements look wrong
- Verify gate types (Entry/Exit/Bidirectional)
- Verify attachment positions and angles on the ellipse
- Use Reverse if traffic circulation direction is opposite
Too many possible exits are classified
- This can happen when many gates are attached to one roundabout
- Remove unnecessary attachments or adjust attachment angles